


Welcome back to the series but we will be diving into something different which is "Azure Virtual Machine ". Let's get started 😊
What is a Virtual Machine(VM)?
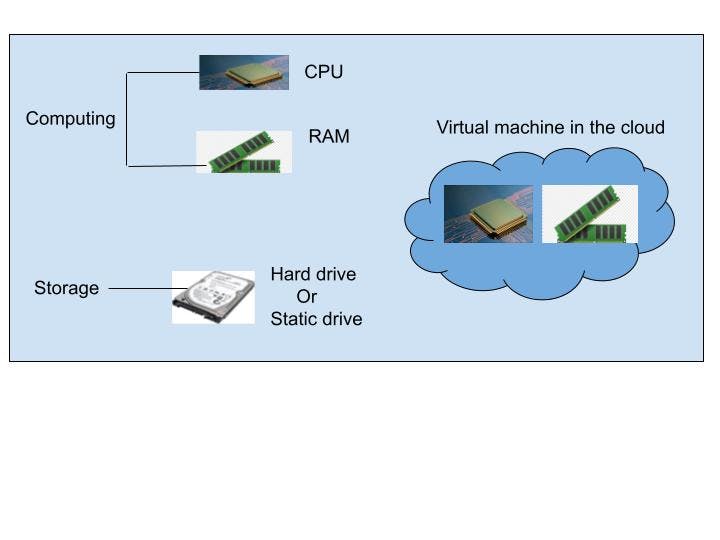
One of the first things you check out for when getting a new device(laptop, desktop, etc) is usually The processing speed, the memory capacity, and the storage which make devices expensive to get. but working on the cloud has made things a lot easier because rather than worrying about less storage and acquiring an external hard drive for your device, you can access the storage as much as you need in the cloud over the internet eg. google drive, dropbox, Microsoft one drive are all examples of storage in the cloud.
For the processing speed(CPU) and memory capacity(RAM) the Virtual Machine handles that for us. The virtual machine is a combination of the processor and memory in the cloud. A better processing speed and memory capacity improve our computing experience.
Because it is virtual it can be accessed through the internet and can be used in our physical computers, this is advantageous because we can get our budgeted devices and make them more efficient using the Virtual Machine.
We have different virtual machines like VirtualBox, VMware, V2 Cloud, Parallel Desktop, Azure Virtual Machine, and so many others but for this article, we will be discussing Azure Virtual Machines.
Azure Virtual Machines
An Azure virtual machine is an on-demand, scalable computer resource that is available in Azure. it does basically what every Virtual machine do but the difference is that it is available in Microsoft Azure. Azure Virtual machines support only LINUX and WINDOWS operating systems.
When to use Virtual Machines
During testing and development.
If you are a developer working on some new software and want to test its functionality you can use virtual machines for this purpose. The primary reason to use a virtual machine for this is in case your software gets crashes in between it won't affect your memory including your hard disk and RAM of your physical computer system.
Using Different Operating Systems.
So let's say we want to test a functionality feature on different operating systems(OS) to know how they function, rather than having to try it out on different physical systems with each one having a different OS (Linux, Mac OS, Ubuntu, windows, etc), Instead you can install all OS inside virtual machines and use them. In other words, we can have Linux running on a Windows OS using a Virtual Machine.
When running applications in the cloud.
The ability to run certain applications in the public cloud as opposed to creating a traditional infrastructure to run them can provide substantial economic benefits. This means you only pay for what you use.
Creating your cloud computer
When you want to have access to your laptop from your mobile. example, If you don't want to take your laptop to work, using Remote Desktop Protocol (RDP) over the internet you can access your laptop environment from your Mobile.
Running old applications
Suppose you have an old project or application that initially was running on windows 8 but in recent times you upgraded to windows 10 and the project does not support it. In that case, all you need to do is install windows 8 within a virtual machine and use it to run the application. You don't need to re-install windows 8 on your local for that application. And many other use cases.
Benefits of Azure Virtual Machines
Scalability
Your application can continue working on increasing workload with the azure virtual machine. This means that as your application grows in popularity and there is an increase in demand, rest assured that your app will keep running.
offers a level of Customisation
With Azure virtual machine, you can customize your virtual machine to satisfy the needs of your business because their ease of use and also ease of setting them up makes them extremely flexible to customize.
Only Pay for what you use
And this is my favorite part, with the Azure VM affordable pricing model you only pay for computing time and the storage space you need.
Backup and Quick Recovery
Cloud computing made file backup and quick recovery feasible which was close to impossible in physical machines. hence, you don't have to worry about the failure of your hardware because your data and apps are stored in the cloud.
Activating an Azure Virtual Machine
Azure Virtual Machines supports Linux and Windows operating systems. You could use the Azure portal, the Azure CLI, Azure PowerShell, or an Azure Resource Manager (ARM) template to create your virtual machine. But for this article, I will be using the Azure CLI. Click here to learn how to use the other options available.
Create a free account here if you do not have an azure account
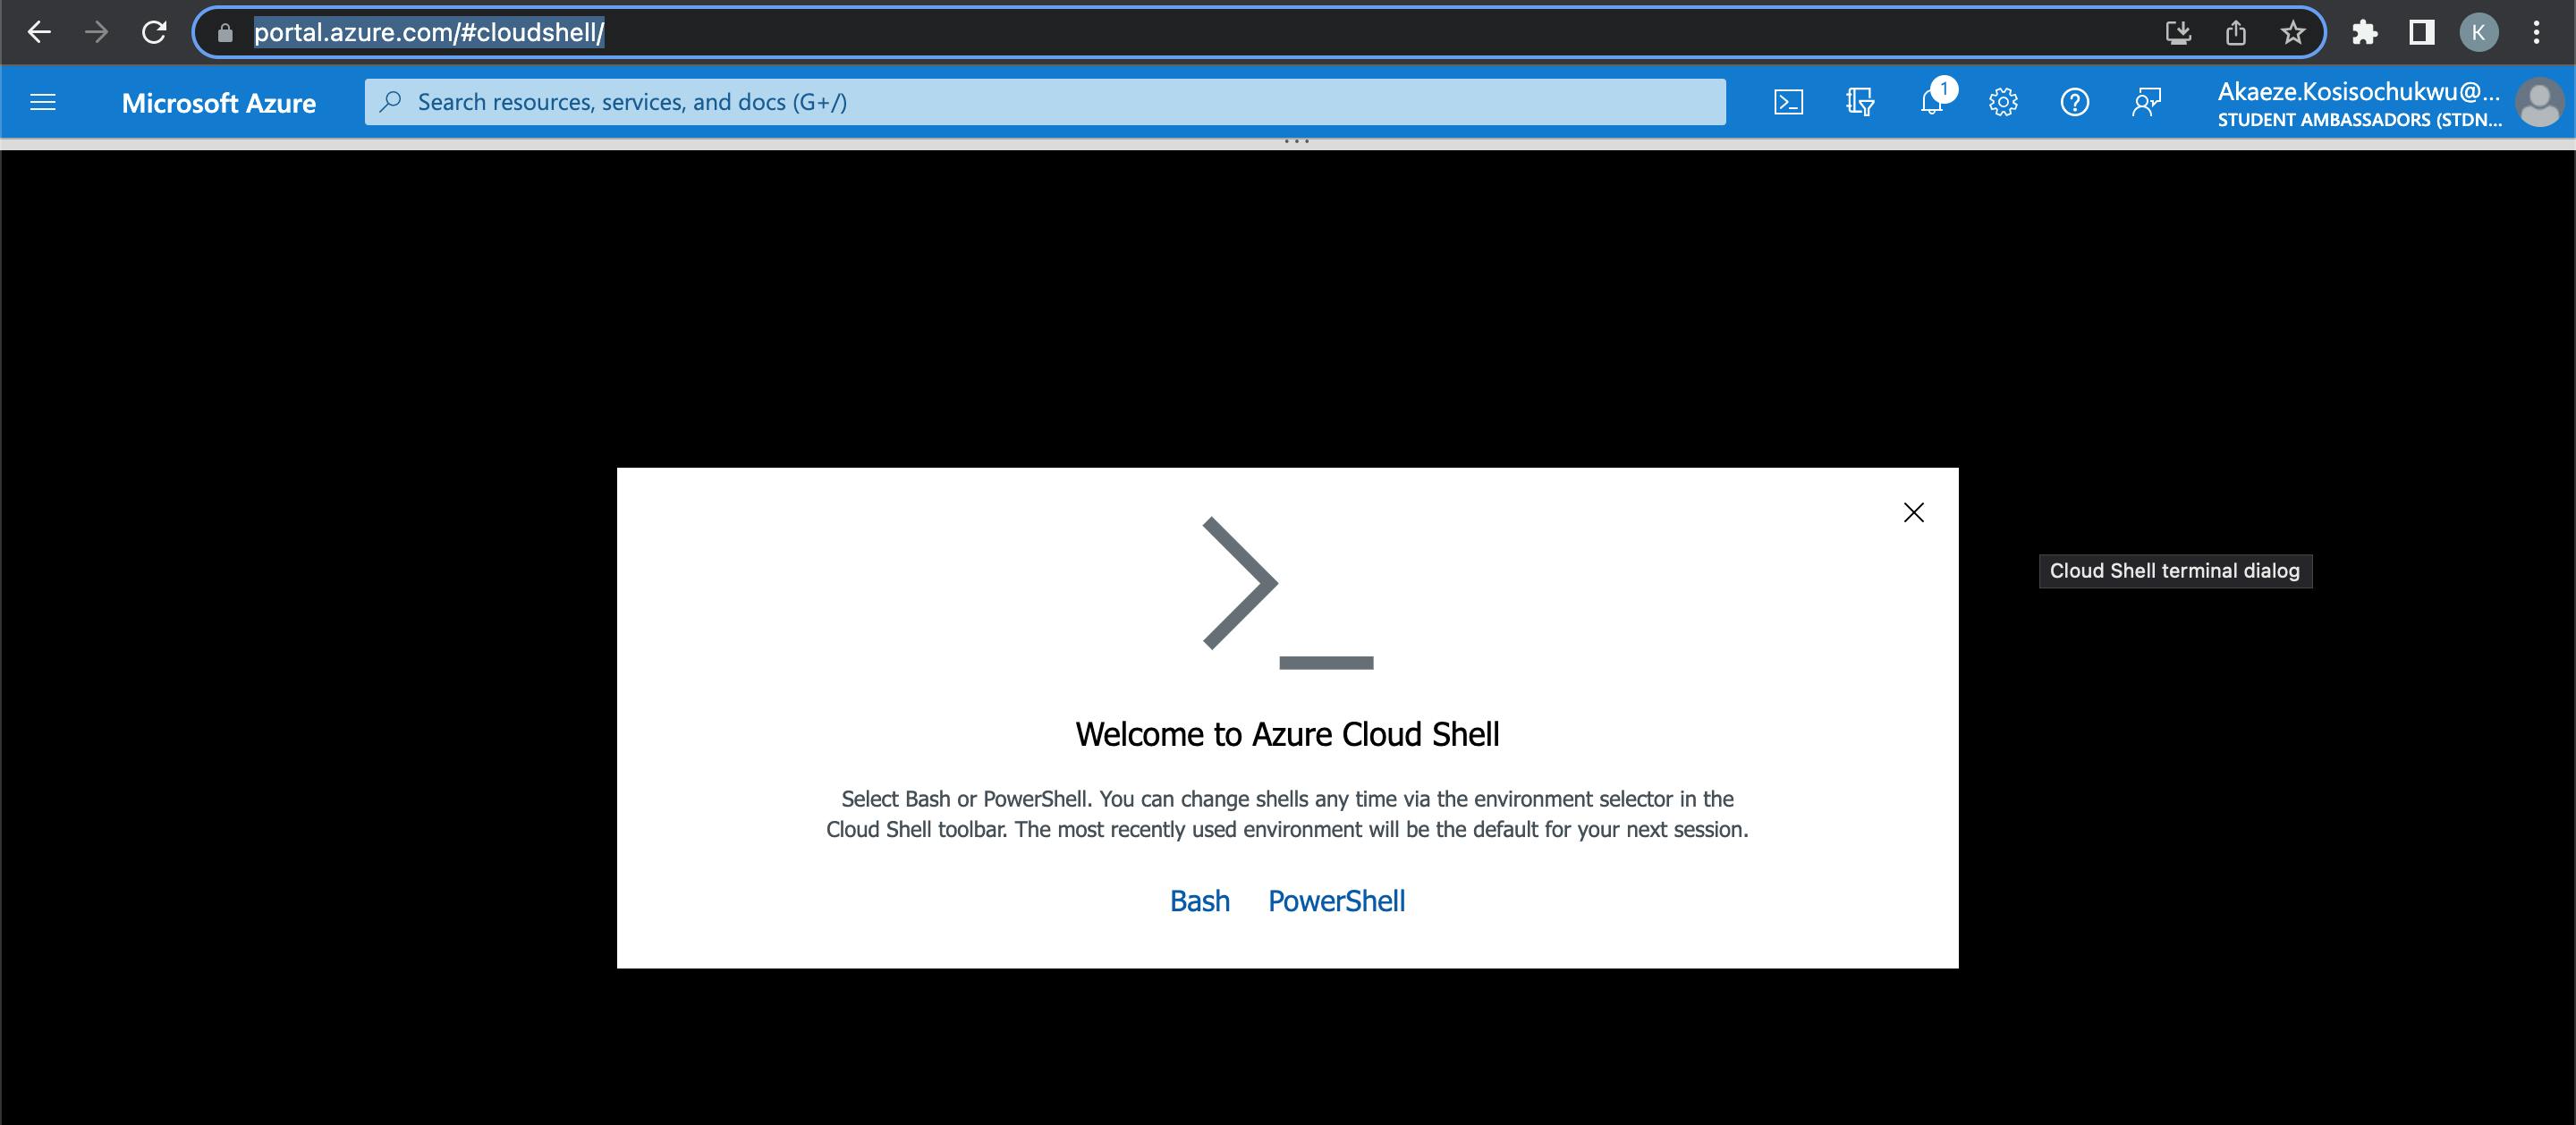
Launch the azure cloud shell, you can access it here, you can select any of the shells. for this practice, I used PowerShell
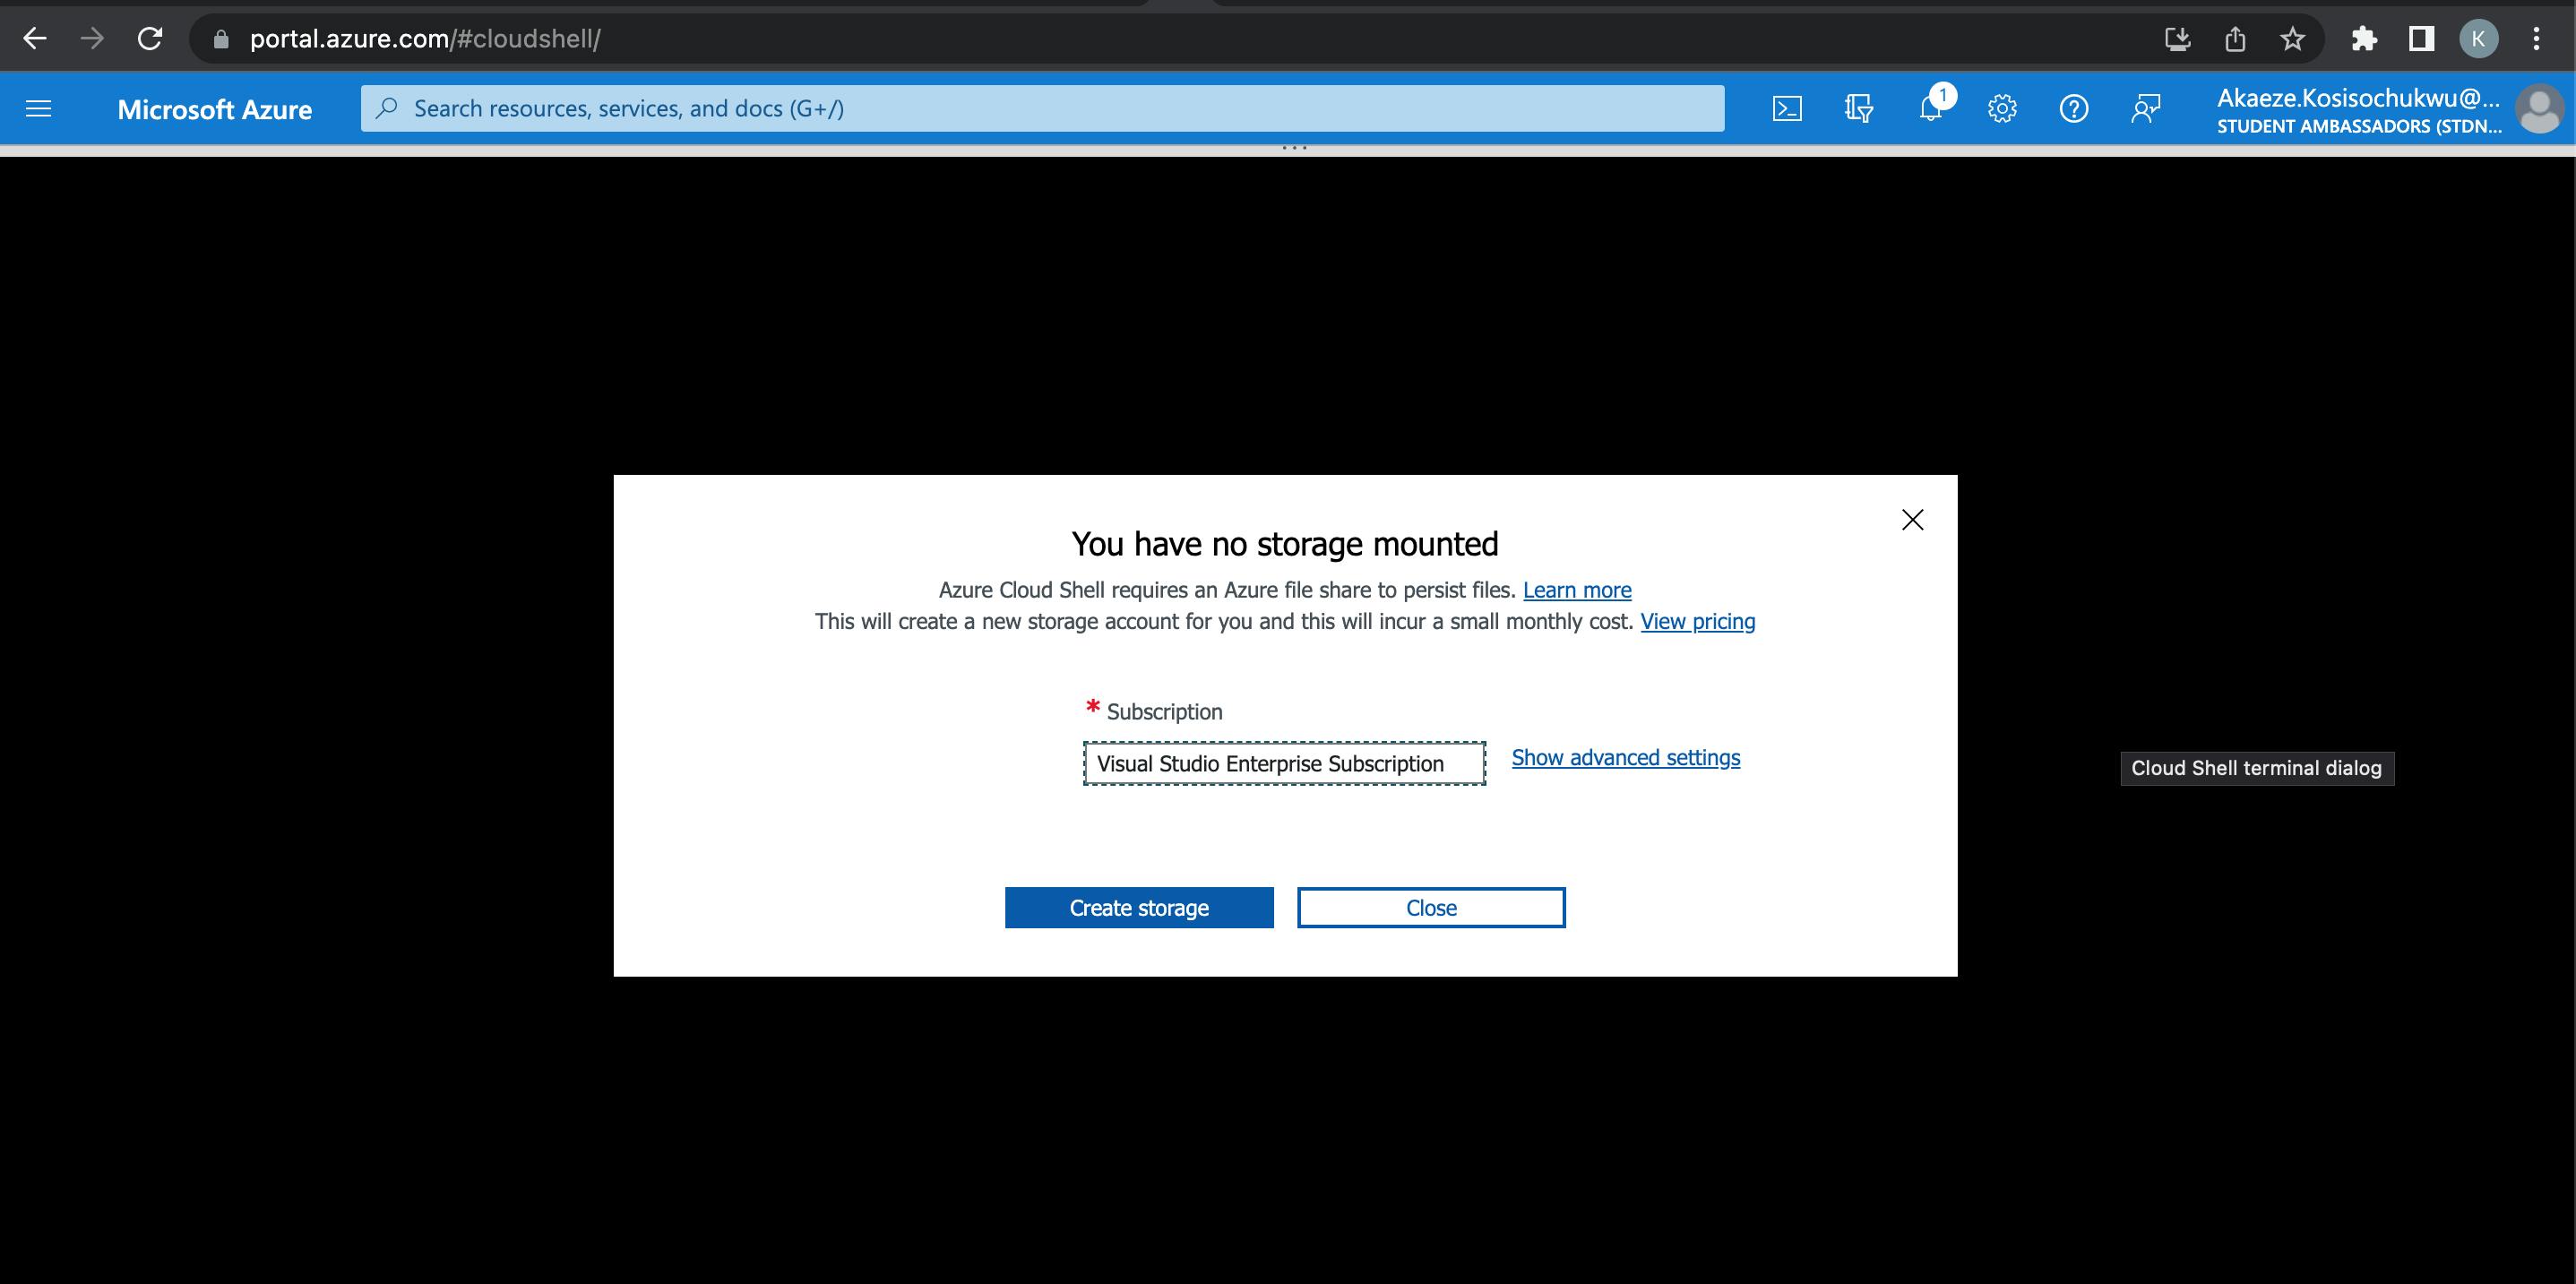
Click on create storage, you need to have a subscription to continue, if you created a free azure account then you have access to a limited subscription
Create a resource group using this command az group create, the resource group serves as a container for all your Azure resources and into which the resources are deployed and managed. we will also give a name to the container(resource group) and define the location we want the virtual machine to be created, Enter
az account list-locationsthe shell to view the different locations.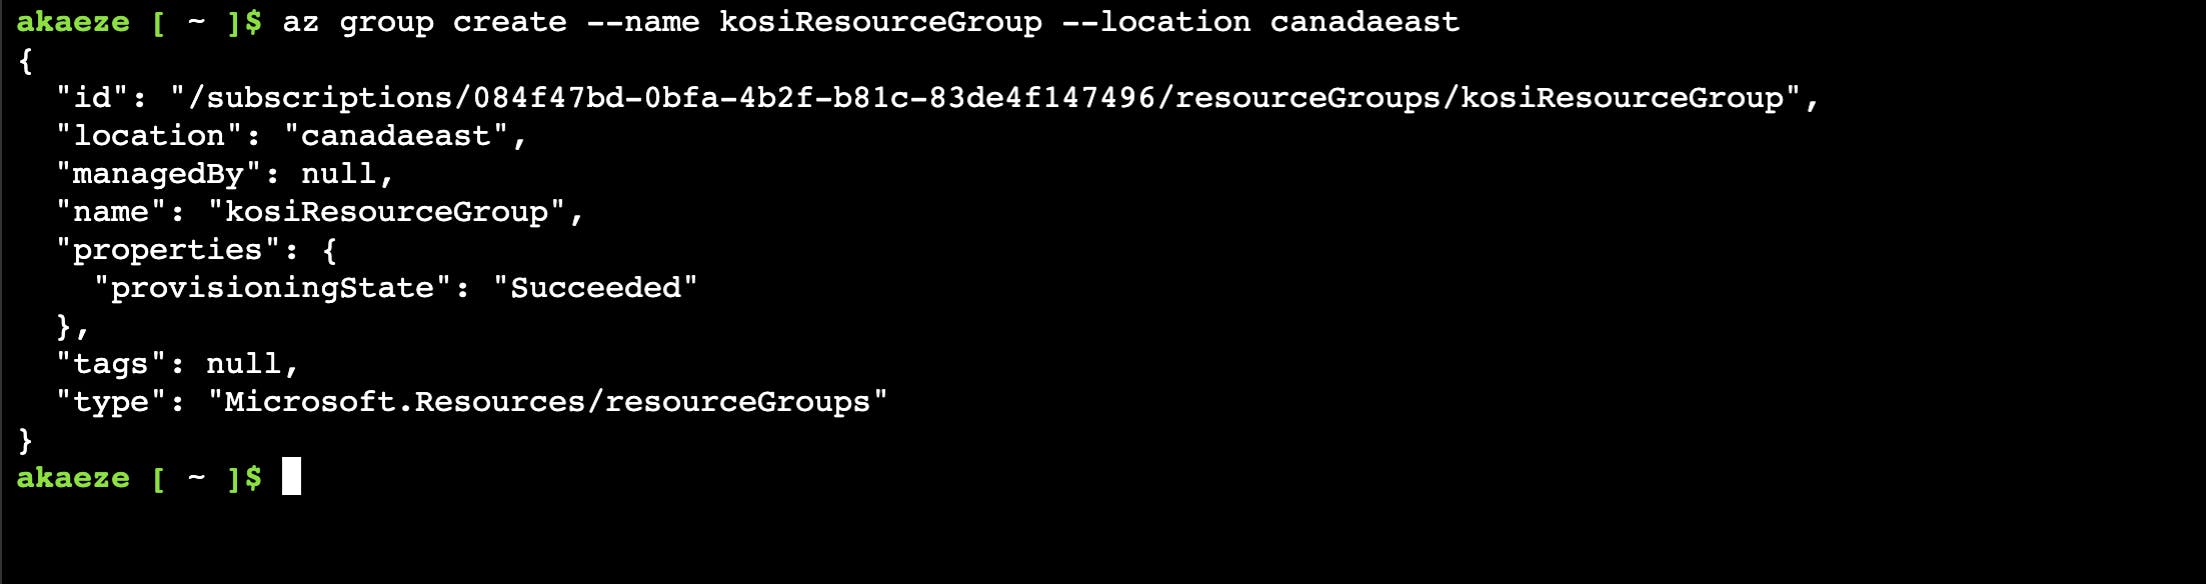
Enter this command in the shell, you can edit the name and admin user name and you will be prompted for a
--admin-passwordparameter with a value for your password. The link gives you a hint of the kind of password you are creating
password requirements for Azure VMs. The image is the operating system our VM is using.az vm create \ --resource-group KosiResourceGroup \ --name kosiVM \ --image Win2022AzureEditionCore \ --public-ip-sku Standard \ --admin-username azurekosiAfter inputting the password, It takes a few minutes to create the VM and supporting resources.
This shows that your VM is running successfully, Note your own
publicIpAddressin the output from your VM. This address is used to access the created virtual machine in the next steps.
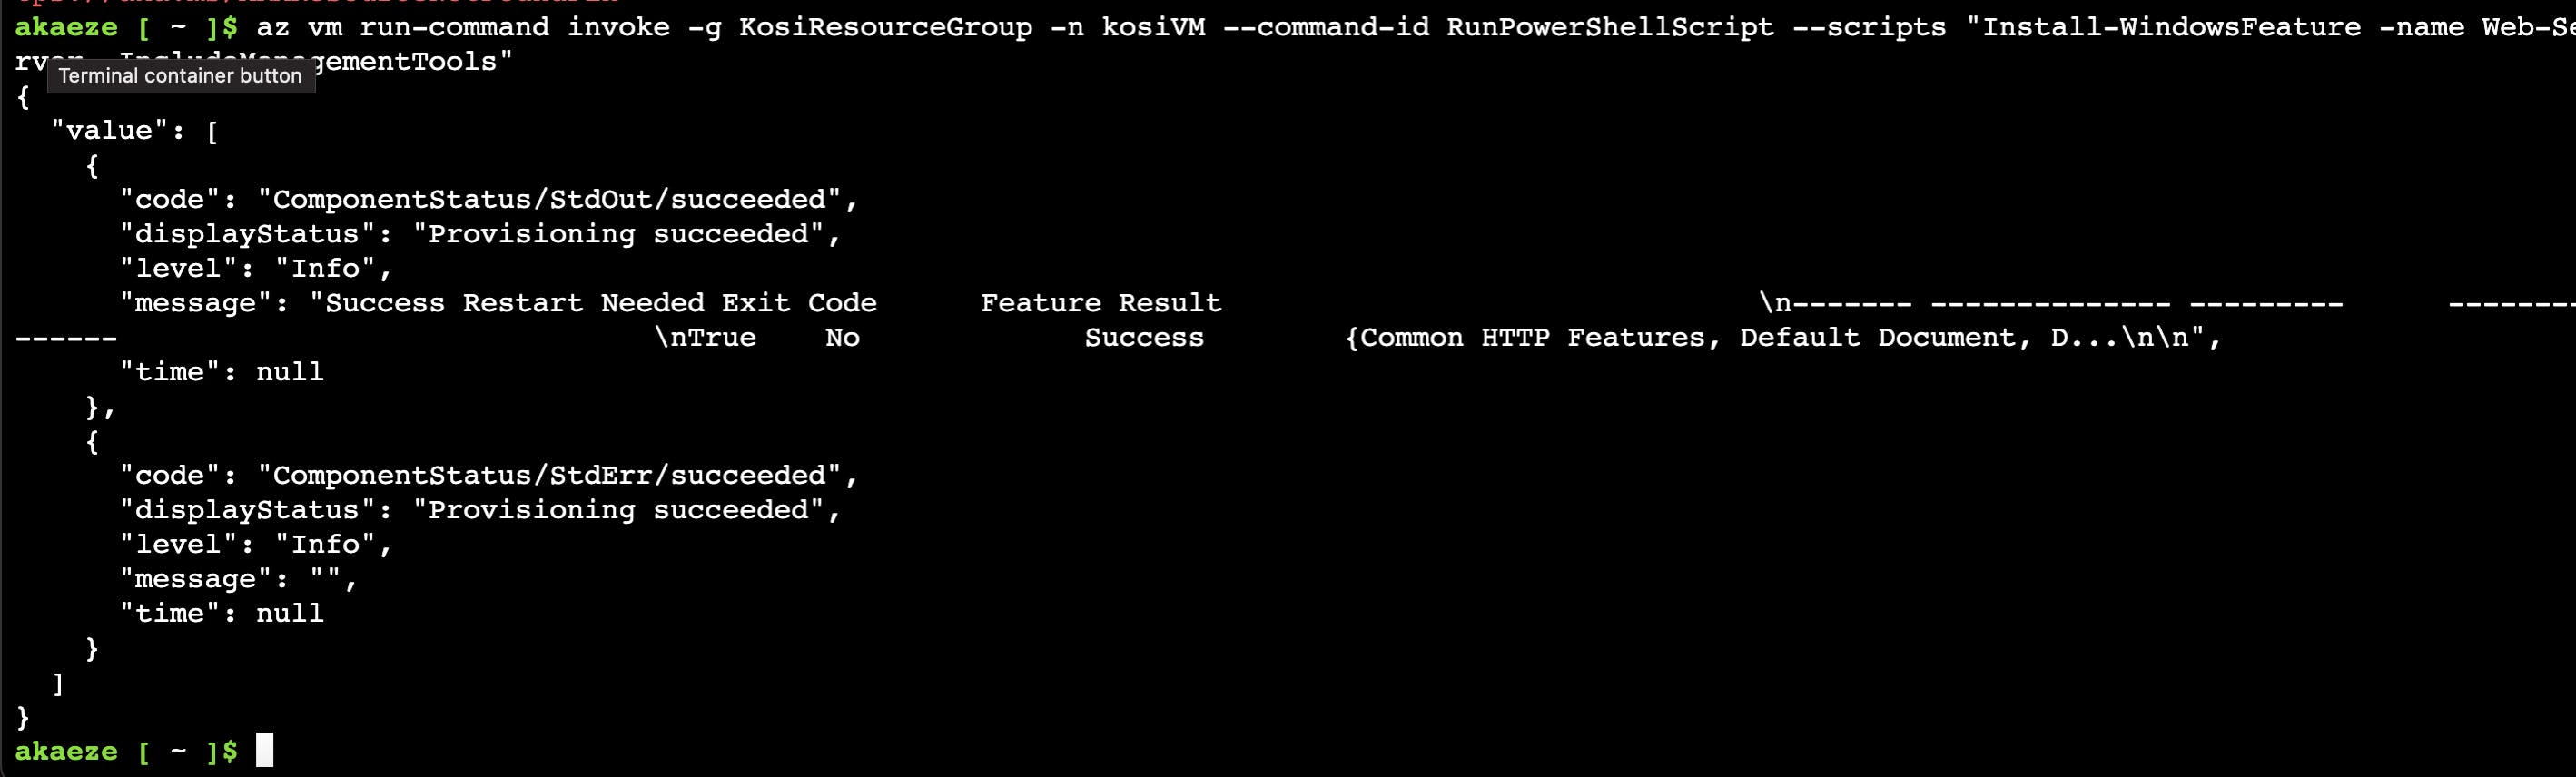
Install a Web server, to view your VM in action you will need to install a web server. You will have to use the name of the newly created virtual machine and resource group.
az vm run-command invoke -g KosiResourceGroup -n kosiVm --command-id RunPowerShellScript --scripts "Install-WindowsFeature -name Web-Server -IncludeManagementTools"And you see this after a successful installation.
Open TCP port 80 for use with the IIS web server using your resource group and VM name. Then view the web server in action by putting your
publicIpAddressinto the browser.az vm open-port --port 80 --resource-group KosiResourceGroup --name kosiVM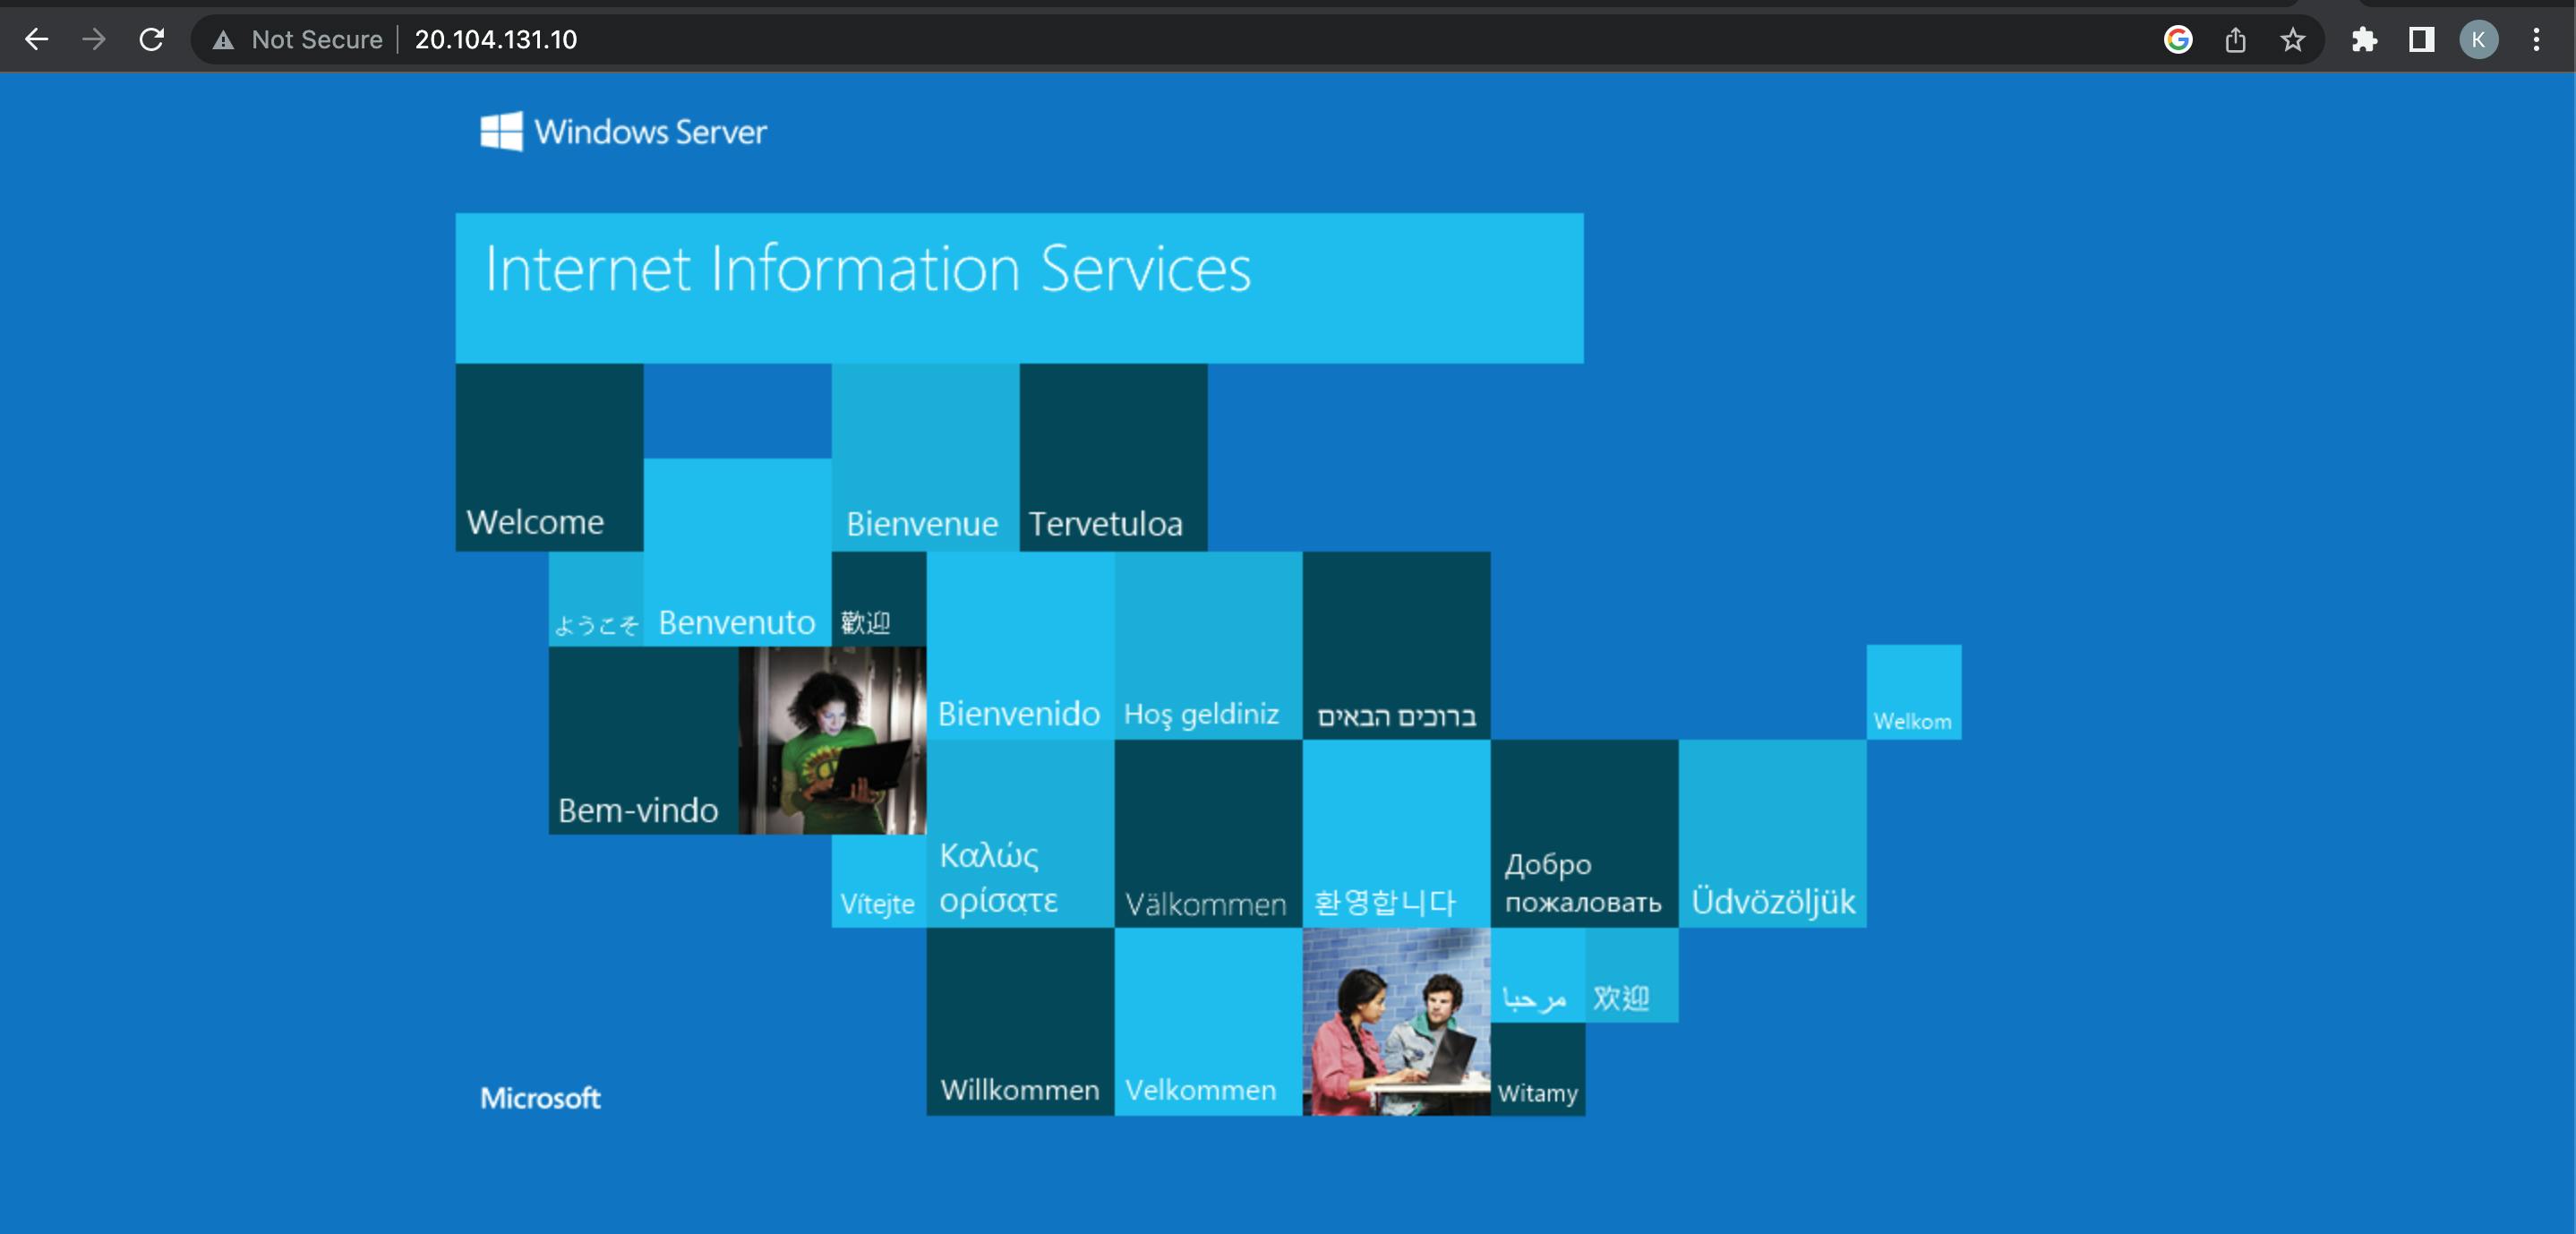
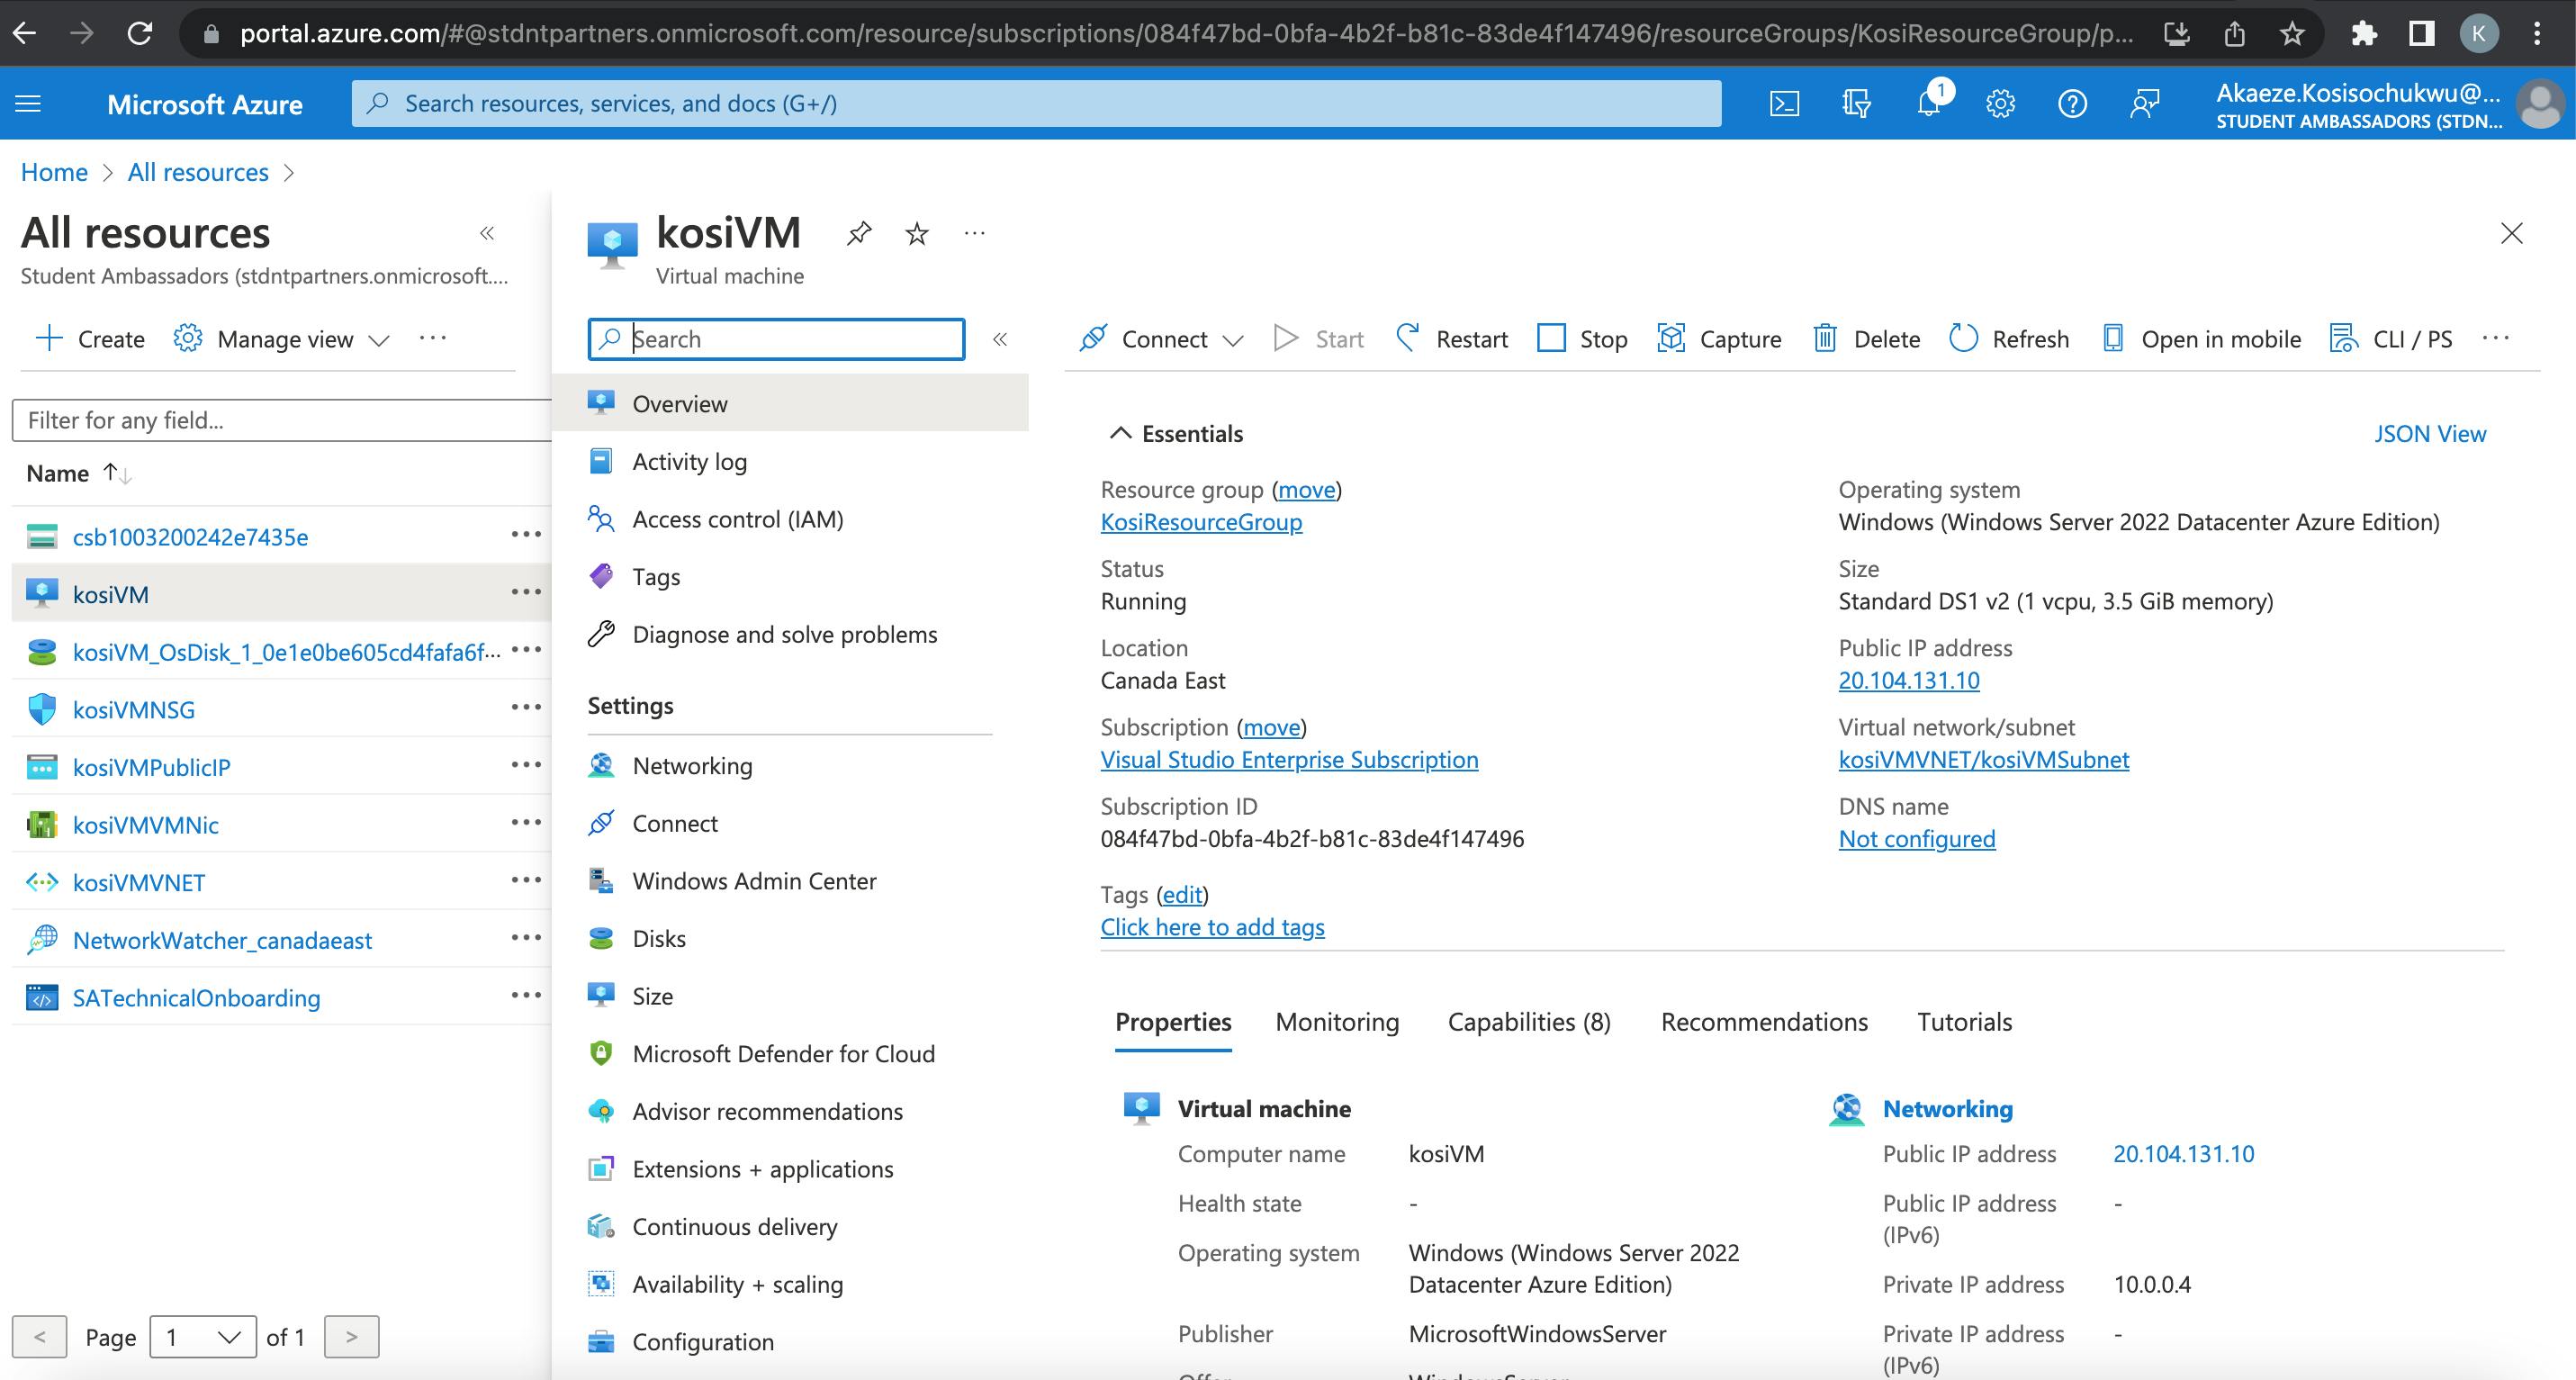
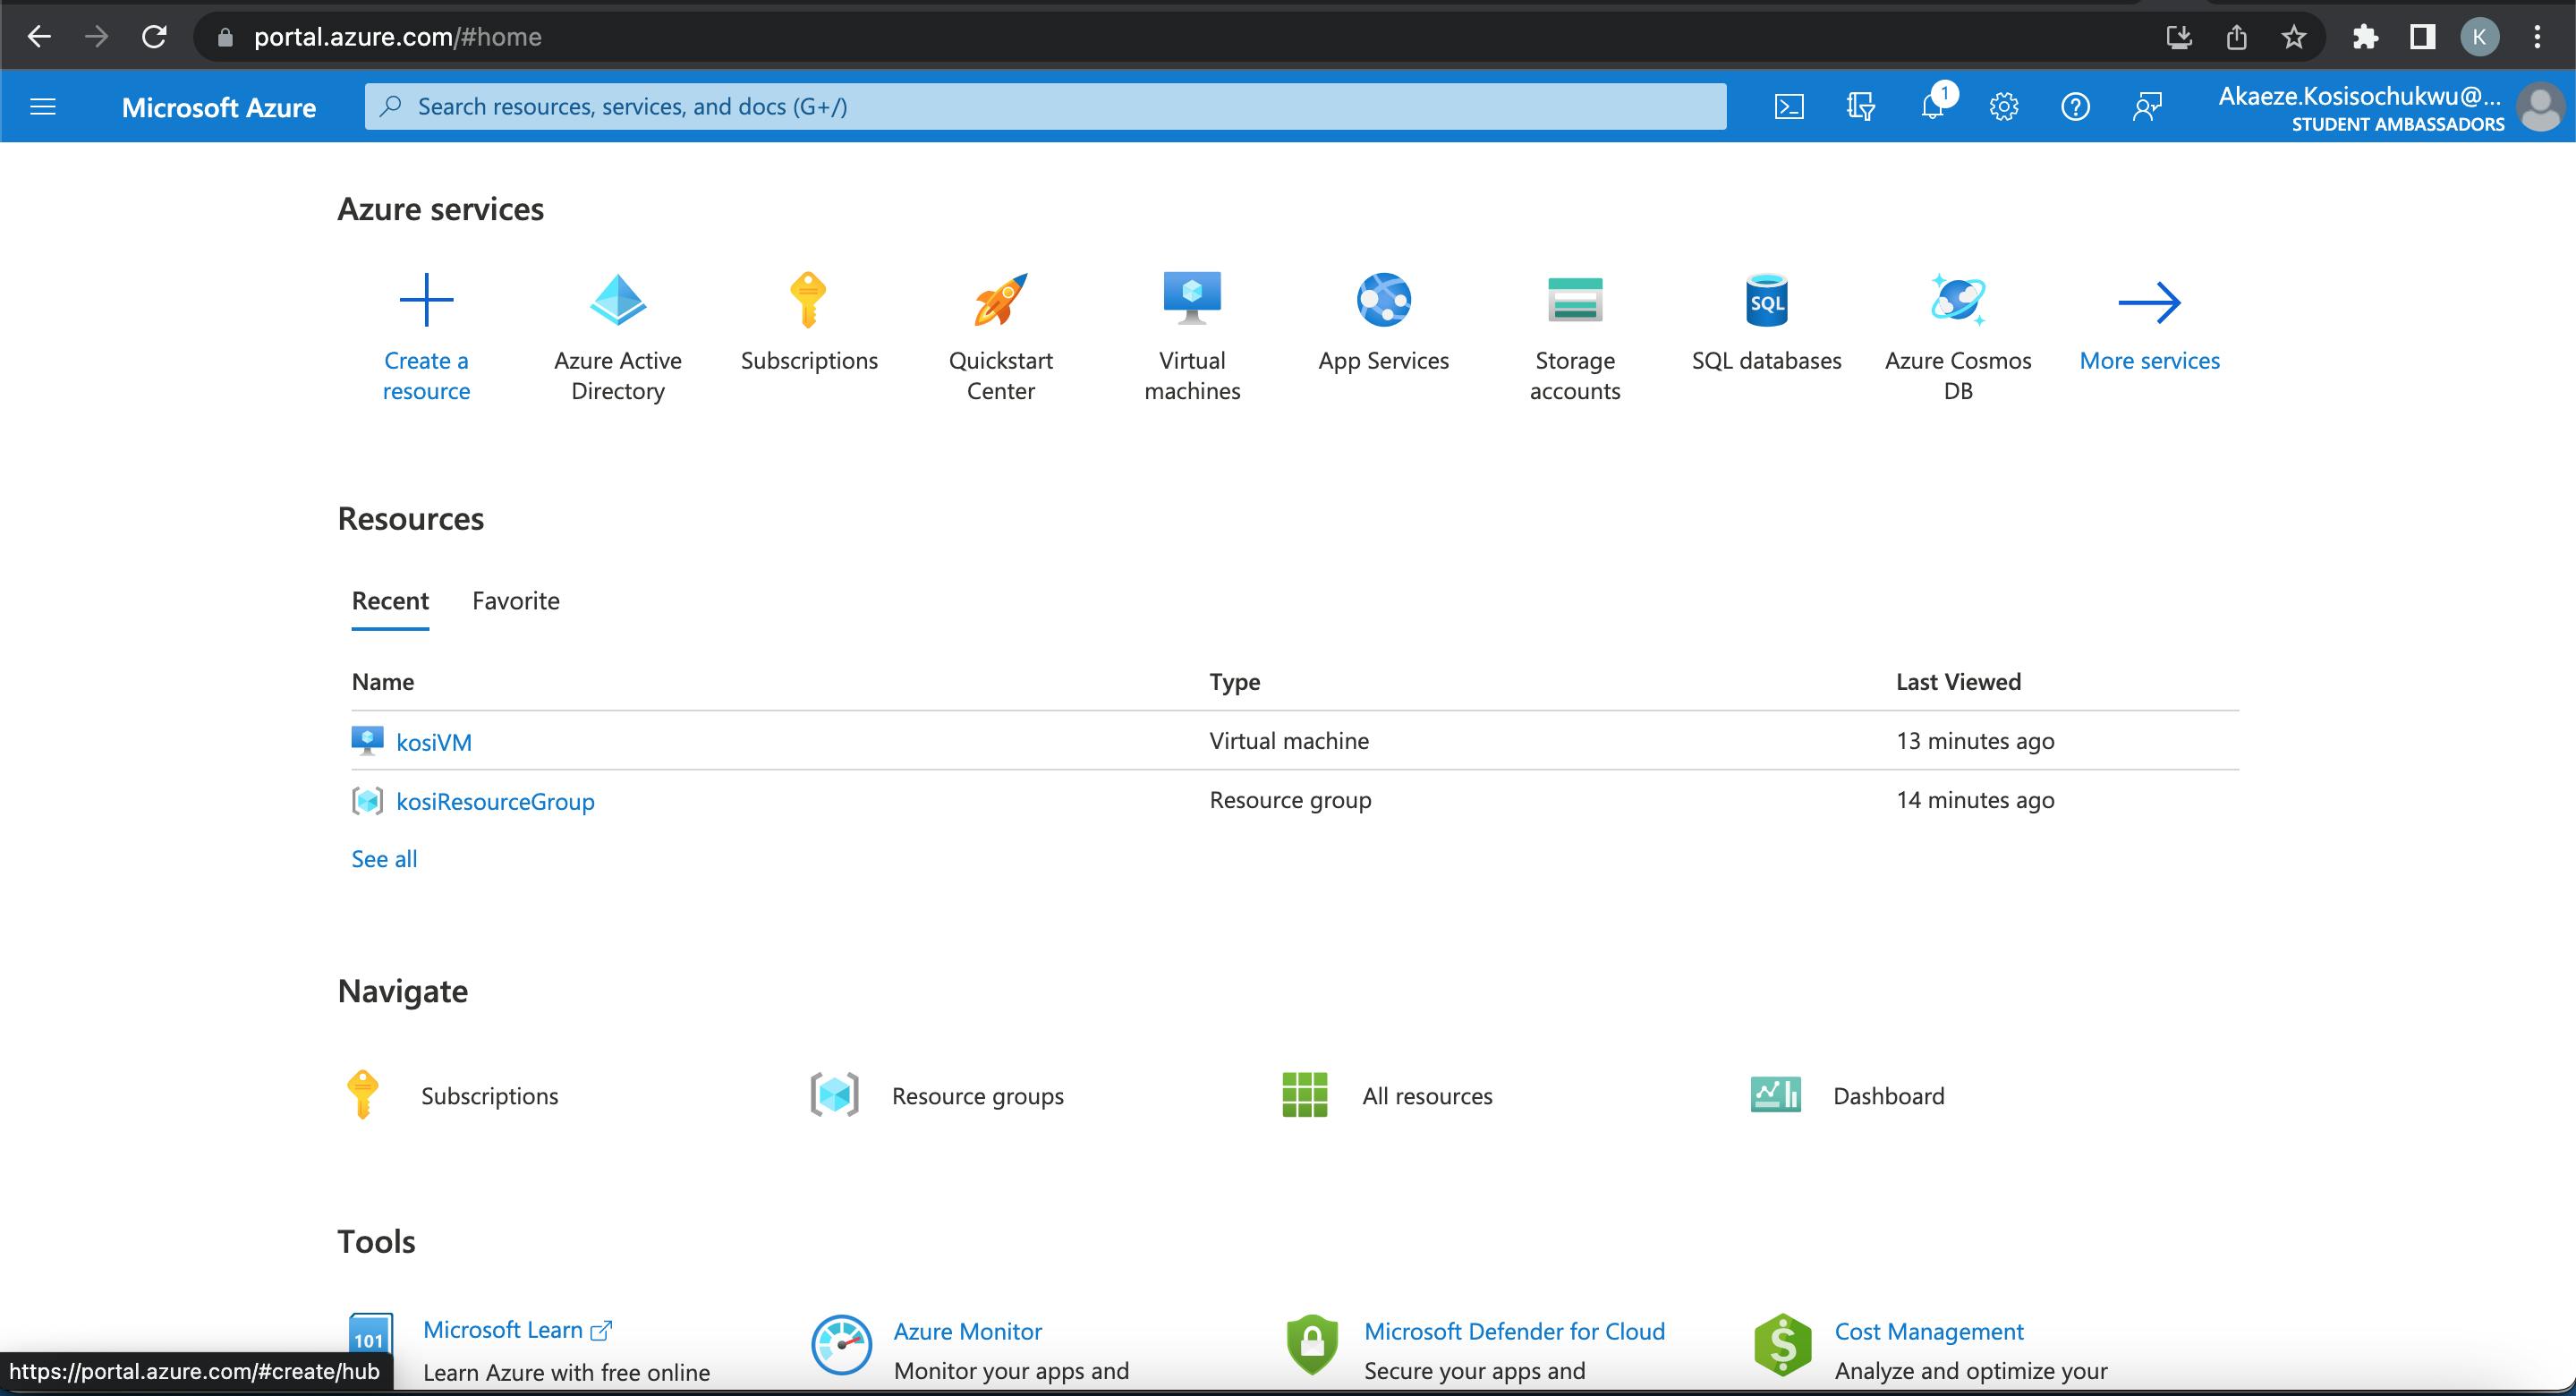
You can also view your newly created azure VM on the Azure portal. Over there is the kosiVM we just created
Note that you can activate an azure VM in different programming languages like python, .NET, Java and Go
An Application of Azure Virtual Machine
Because using a virtual machine is faster and you don't have to worry about sharing network bandwidth with other apps running on your system, you can easily stream movies online, have meetings, download files from the internet, etc. We will be downloading a movie on our virtual machine with the steps below.
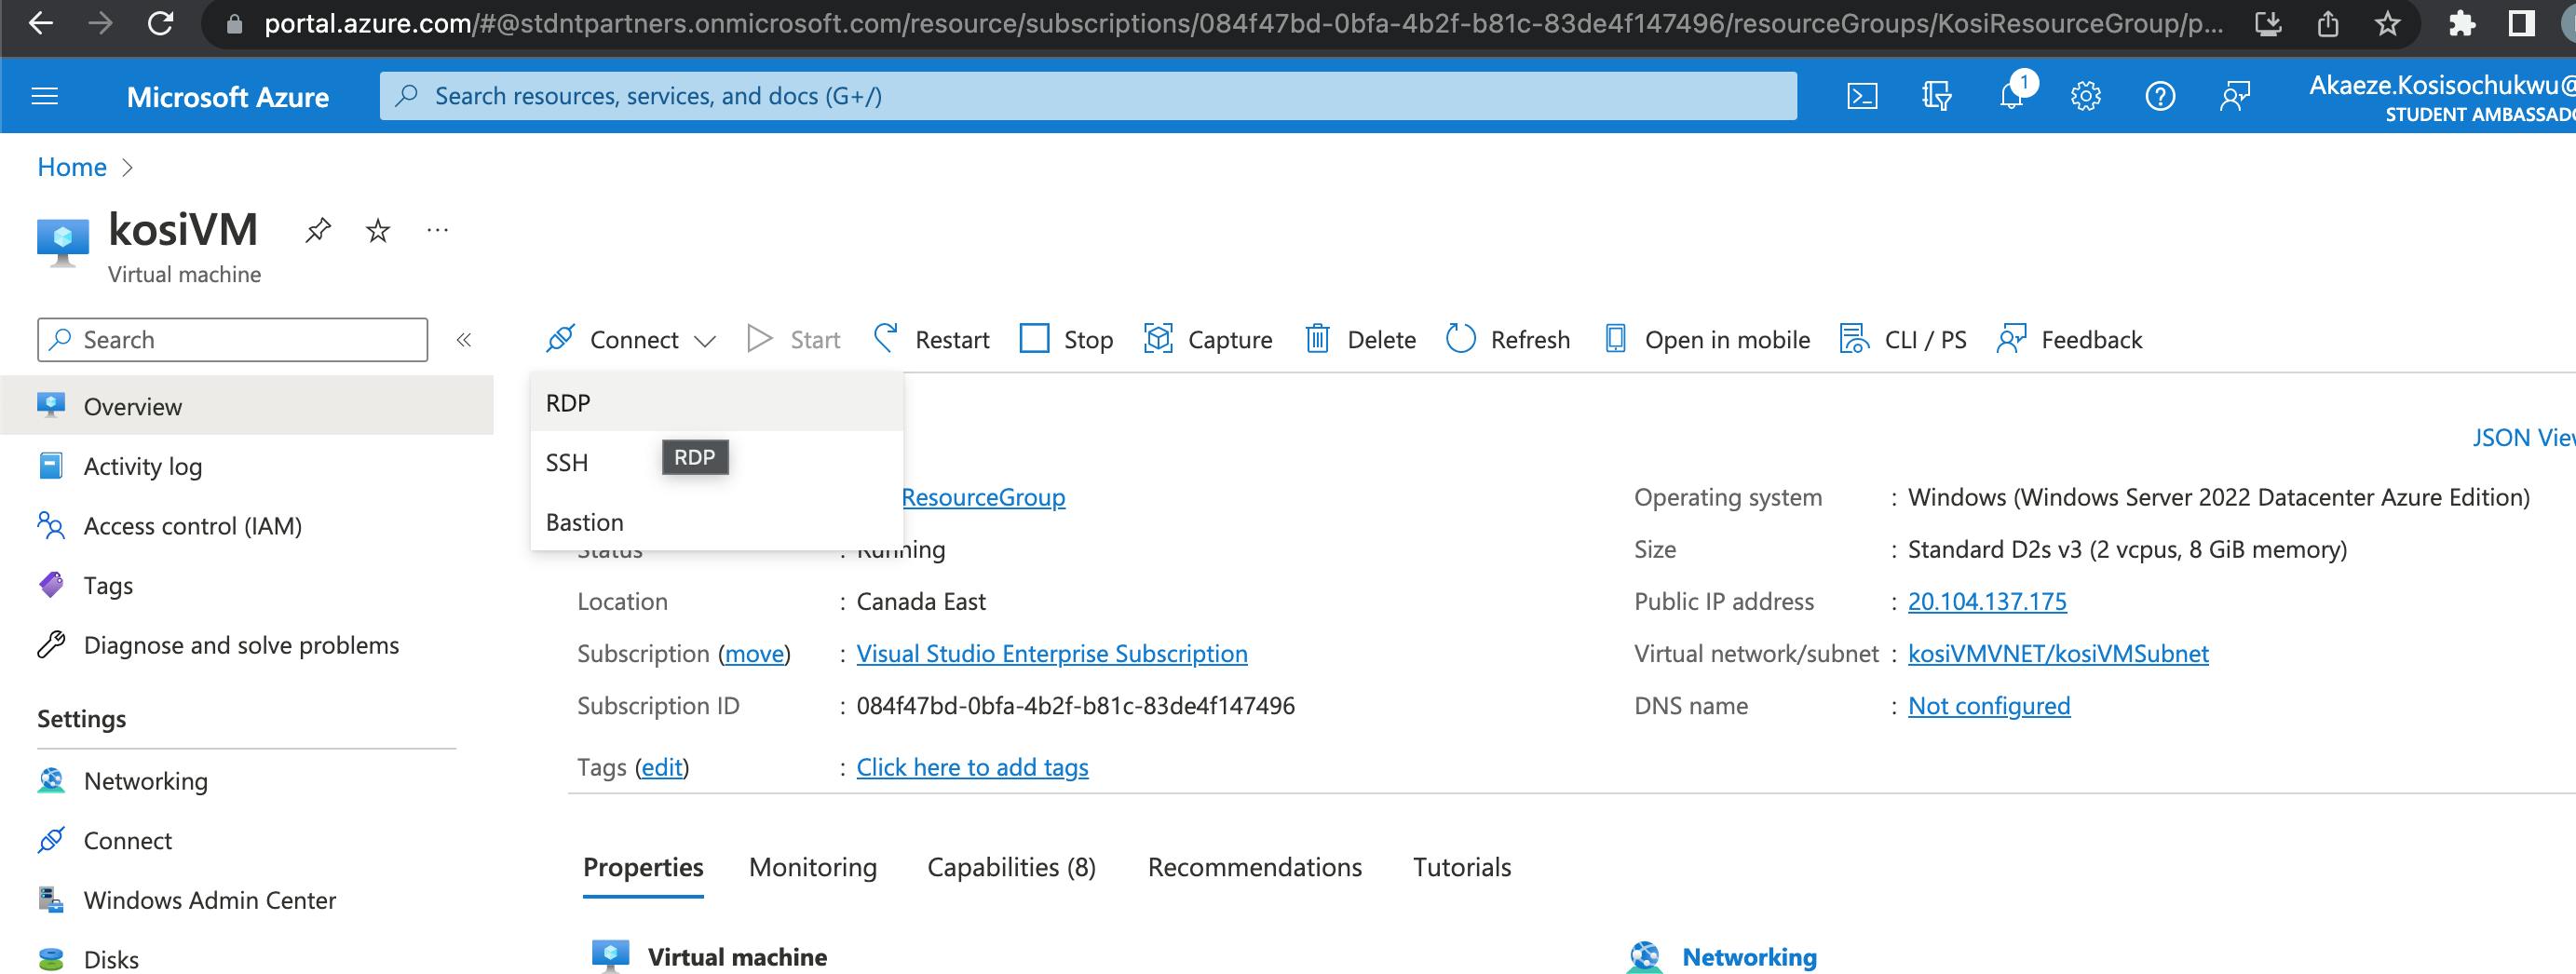
Navigate to the Azure portal and locate your newly created Virtual Machine, You can see the newly created kosiVM
Download the remote desktop app if you do not have it, download here for mac users, click on RDP and then click on download the RDP file on the azure portal and open it. it will open on the remote desktop app on your system
Enter your username(name of the virtual machine) and the password. You see this after a successful opening of the RDP file.
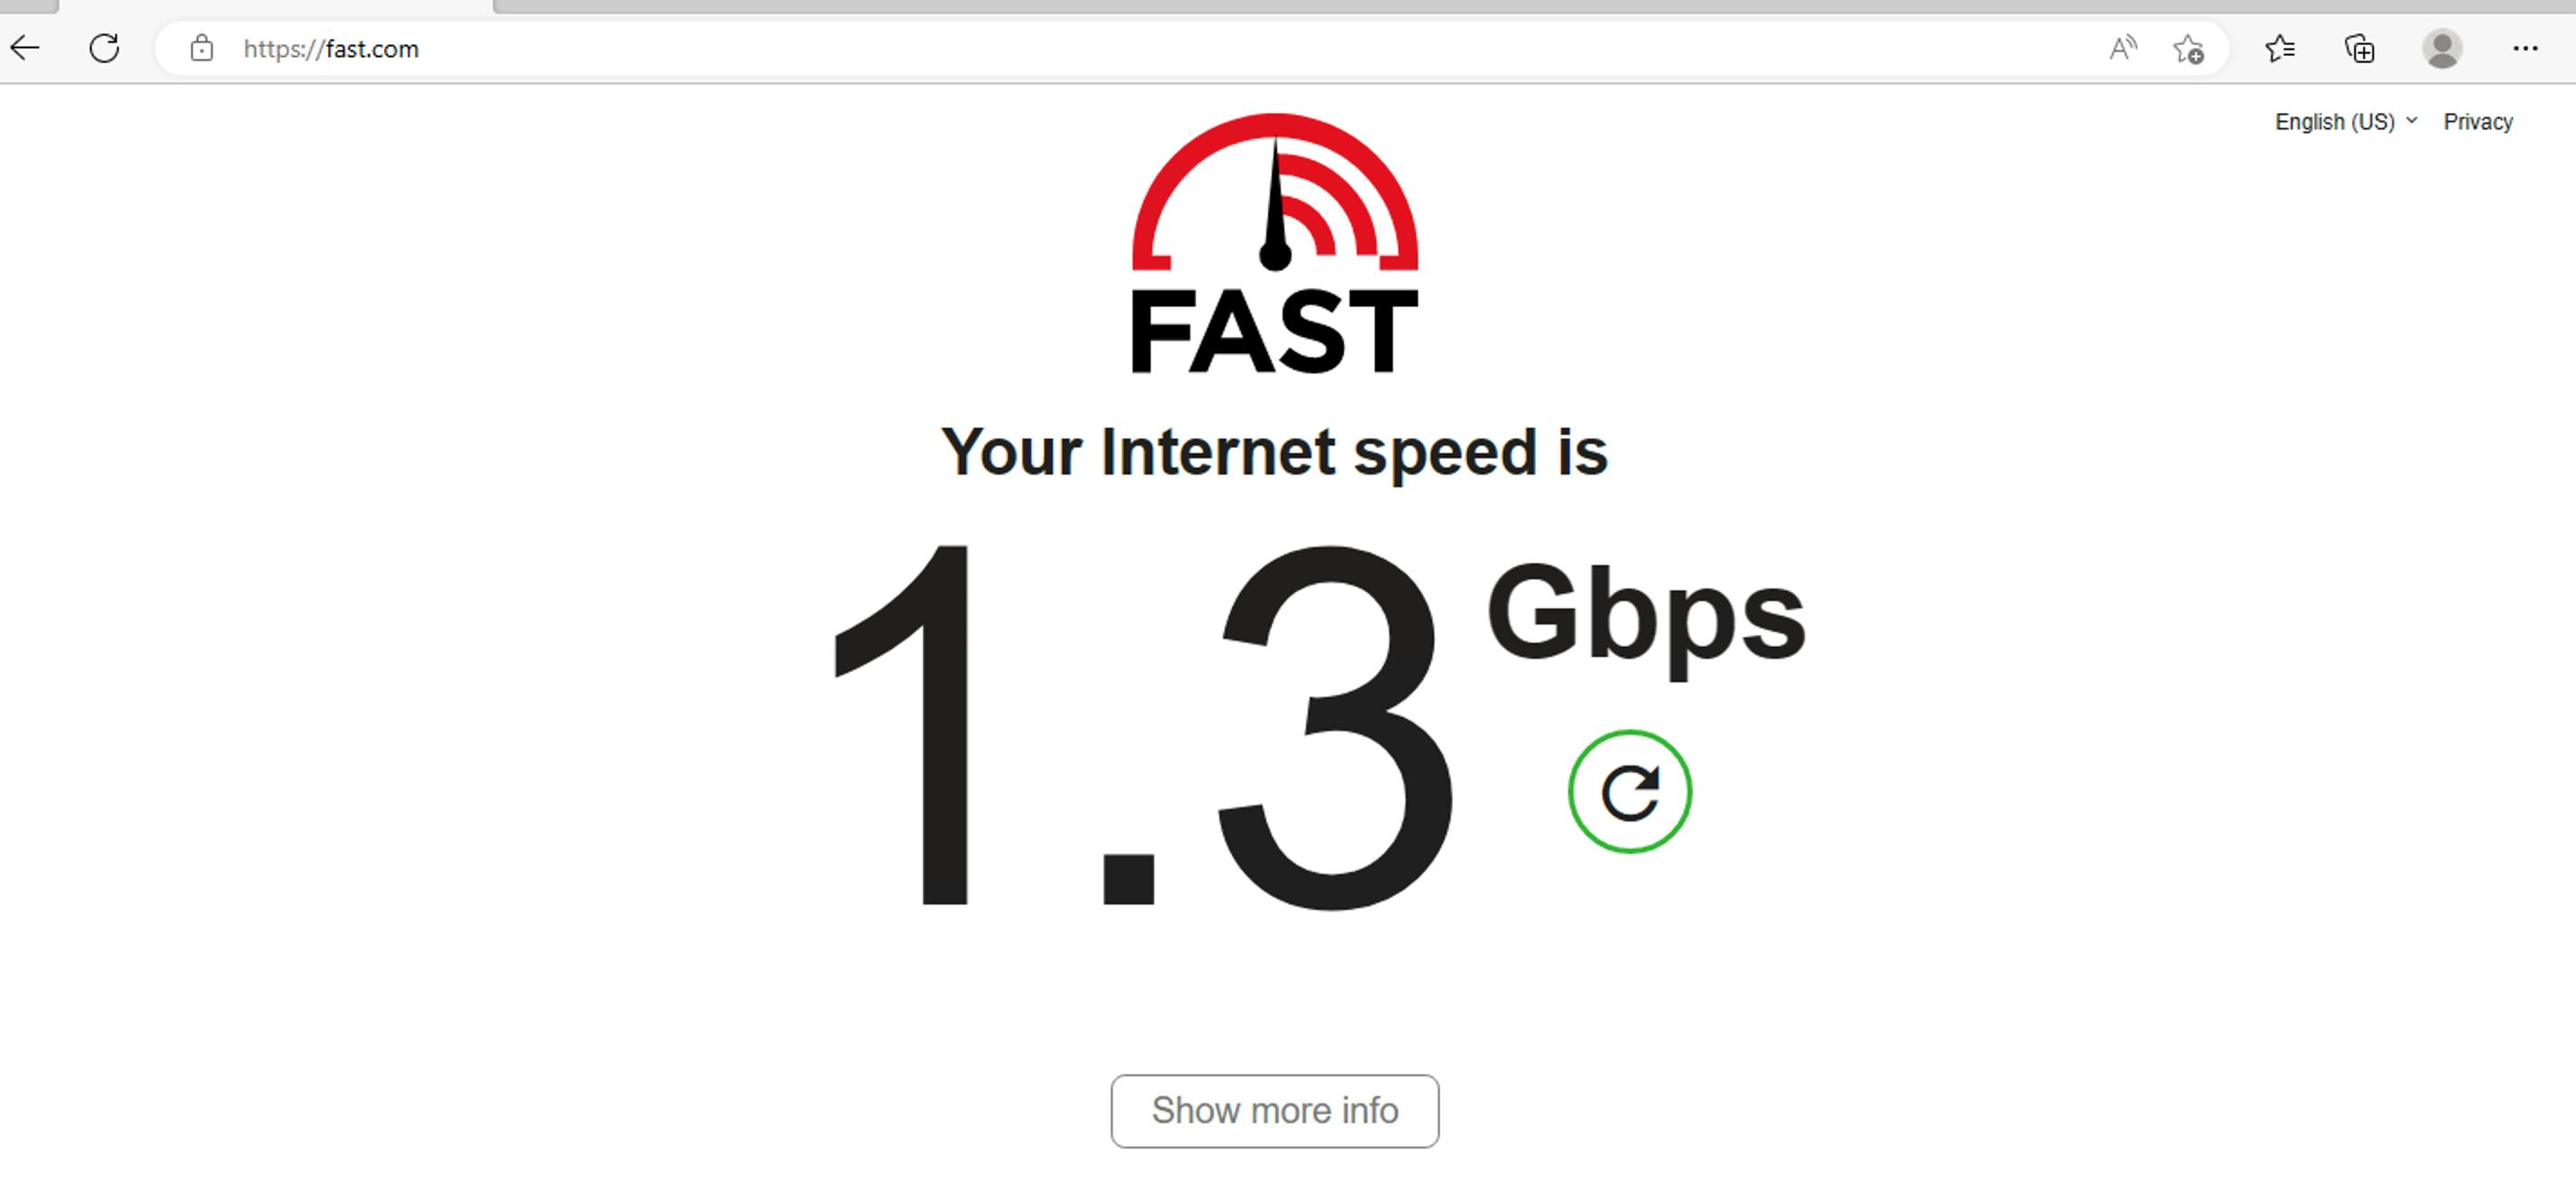
To check your VM internet speed, open the browser on the virtual machine, and type fast.com .
You can search and download movies online, After downloading, you can decide to save the movie in google drive, Microsoft onedrive, etc. For ease of retrieval when the virtual machine is deleted or stopped from running.
We can delete the azure virtual machine by clicking the Delete icon on the top menu of the azure portal since the virtual machine is no longer used.
Always remember to delete your VM after use or shutdown when not in use to avoid incurring more service charges for you.
That was pretty long but I am glad you learned something out of it because I sure did ☺️ Have any questions? do use the comment section🎊. See you in a bit.